Oops 4 - October 2013 - Maple Kindling

Maple Kindling is based on the idea of the traditional Maple Leaf block. Although, there are several variations of the block I could find no definitive pattern, save the notion that it looks like a leaf.
I'd like to tell you that my research unearthed something fascinating.

Unfortunately, if I did so I would be lying.
The most I can discover is that it is very old. It isn't a surprise. If I were designing a quilt without the aid of my computer and software or a stack of books on the subject, my first inclination would be to look to nature. That is exactly where this block came from.
Perhaps the best history lesson I can come up with this month is from the book of Genesis. And God said, "Let the earth sprout vegetation, plants yielding seed, and fruit trees bearing fruit in which is their seed, each according to its kind, on the earth." And it was so. Gen 1:11
For ease of construction I chose to loose the stem of the leaves.
 |
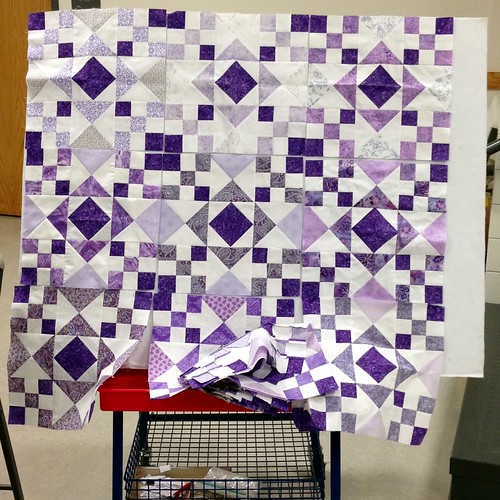
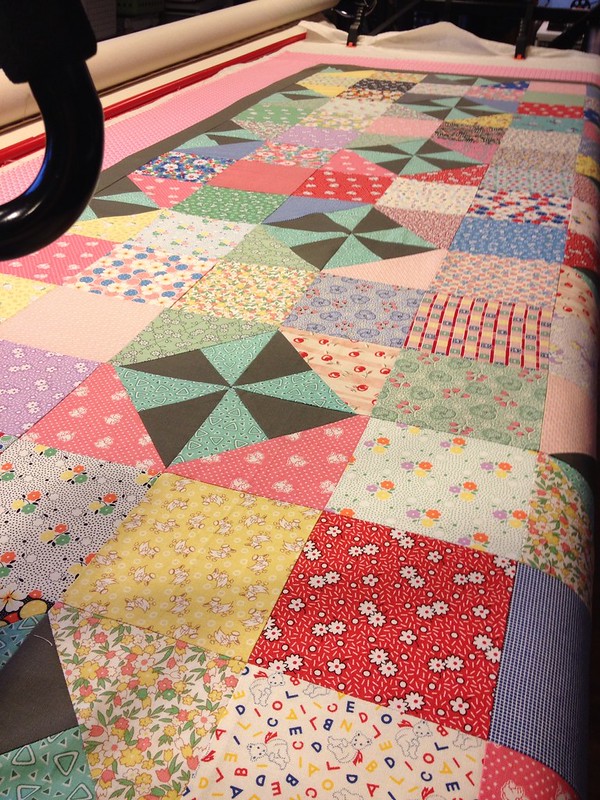
| Maple Leaf Stars |
General Description:
- 36, 12" finished "Maple Kindling" blocks in a 6 x 6 grid
- 2 borders
- 1" finished inner border
- 6" finished outer border
- As described the quilt finishes out at 86" square
Sizes
|
Fabric Requirements
rounded up to the nearest 1/4 yard
| |||
# Blocks
|
Finished Size
|
Red
|
White
|
Blue
|
36
6 x 6 grid
|
86" x 86"
Twin/Full
|
1 1/4 yard
|
2 1/2 yards
|
4 3/4 yards
|
16
4 x 4 grid
|
62" x 62"
Throw/Crib
|
3/4 yard
|
1 1/4 yards
|
3 yards
|
64
8 x 8 grid
|
110" x 110"
Queen/King
|
1 1/2 yards
|
4 1/4 yards
|
7 yards
|
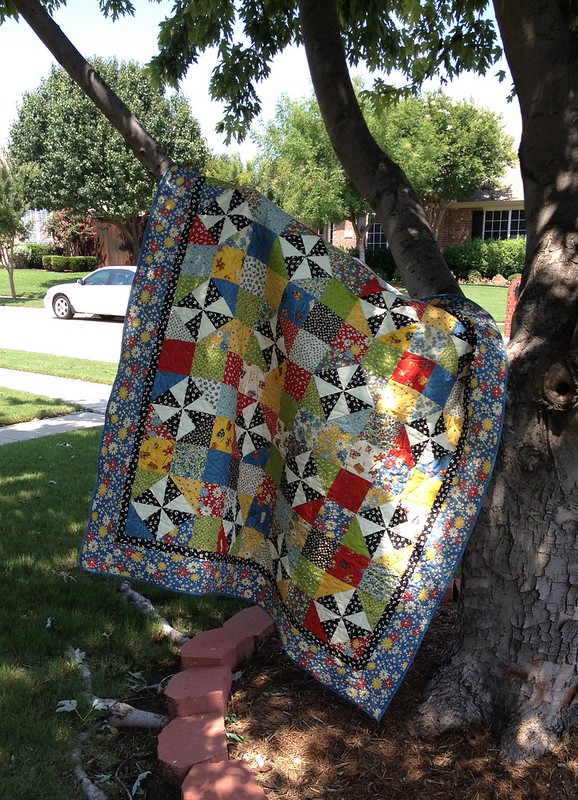
- If you choose to make "Maple Leaf Stars" please take a picture and add it to the Tops to Treasures Flickr Group. I'd love to see your quilt.
- Finishes at 12" square (actually measures 12 1/2" x 12 1/2")
- 4 Patch construction
- Made from
- 3 square patches
- 2 half square triangles
- 2 half goose patches

Please add a coordinating Christmas reds and greens for the traditional portions of the block, and white (tone on tone or solid) for the background. The fabric in your kit is for the Oops patch.
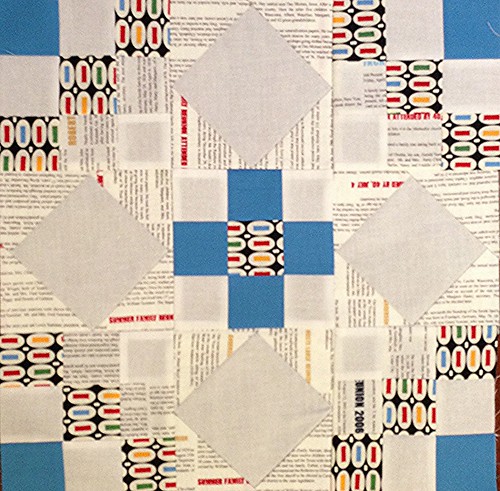
To have a little more fun with this block, let's be specific on where the reds and greens go. Check out what our quilt is going to look like....

Like it?!

Cutting Directions: (9 pieces in blocks)
- Background (white, tone on tone or solid)
- cut 4, 4 1/2" x 4 1/2" squares
- cut 1. 4 7/8" x 4 7/8" square
- Traditional (Christmas reds and greens)
- cut 2, 4 1/2" x 8 1/2" red rectangles
- cut 1, 4 7/8" x 4 7/8" green square
- Oops portion of the block (black print)
- cut 1, 4 1/2" x 4 1/2" square

- Half Square Triangles (HSTs)
- Gather:
- 1, 4 7/8" background squares (white)
- 1, 4 7/8" traditional portion squares (green)
- Draw a line diagonally across the wrong side of each background square
- Layer background square with traditional portion square, right sides together
- Sew 1/4 to each side of the diagonal line. (YUP, sew twice! Once on each side and 1/4" from the diagonal line)
- Cut on diagonal line.
- Open resulting triangles into squares
- Iron seam allowances open.
- Trim HSTs to 4 1/2" x 4 1/2" square
- Half Goose patches - Note that these patches are mirror images of each other. You can NOT make them both the same way.
- Gather
- 2, 4 1/2" x 4 1/2" background squares
- 2, 4 1/2" x 8 1/2" traditional rectangles (red)
- Draw a line diagonally across the wrong side of each background square
- Make one patch at a time to make sure that you end up with mirror images.
- Layer background square with traditional portion rectangle, right sides together, so that the line bisects a corner of the rectangle. Note which corner you are working with.
- Sew slightly to the outer corner side of the line.
- Press square in half along seam line.
- Trim back to 4 1/2" x 8 1/2"
- Trim seam allowances to 1/4"
- Repeat process for mirror patch only place diagonal line in adjacent corner. 90 degrees from original placement.
- Maple Kindling It block
- Gather
- 2, half square triangles
- 2, 4 1/2" x 4 1/2" background square (white)
- 1, 4 1/2" x 4 1/2" oops square
- 2,4 1/2" x 8 1/2" half goose patches
- Make a small 4 patch block with hsts and background squares.
- Iron seam allowances in a twist.
- Assemble remaining pieces as shown in the drawing
- Iron flat
- Trim block to 12 1/2" x 12 1/2"
FQG: Return your completed block(s) to me by October 22nd, 2013, or bring it to the general meeting on that night to be eligible to win. The prize package will contain all of the complete blocks, unfinished kits, and a coupon for free edge to edge quilting.


