
Thursday, November 24, 2011
Happy Thanksgiving
Wednesday, November 16, 2011
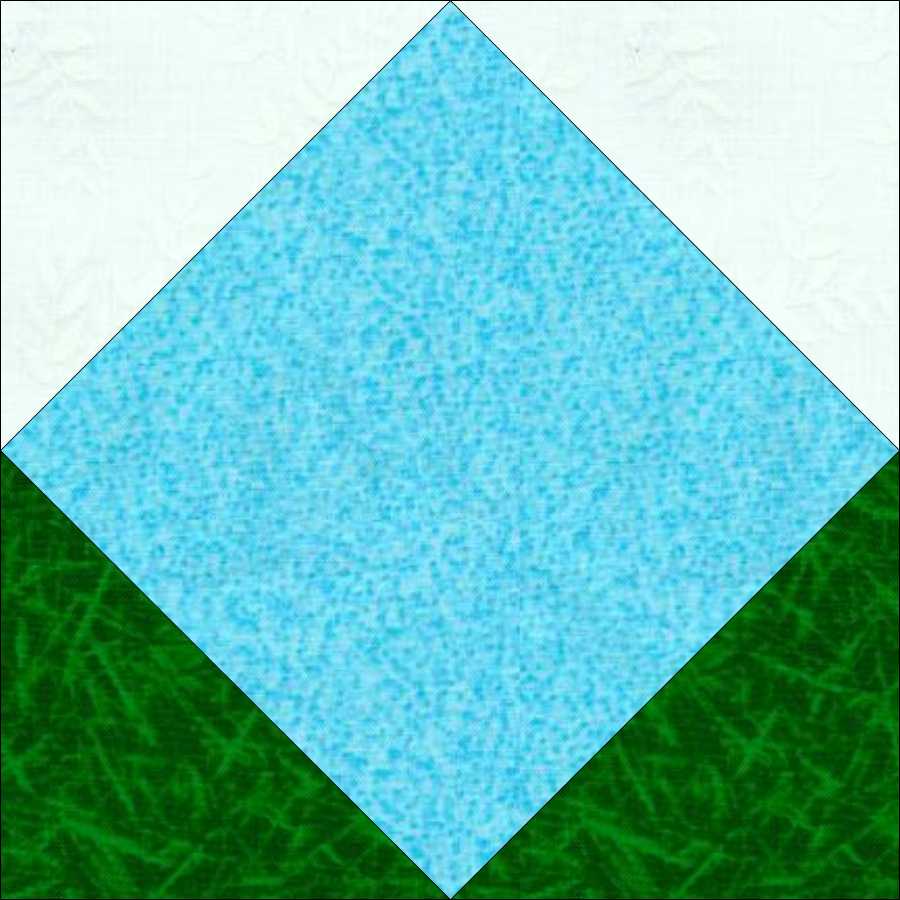
Month 7 - Bonus Block - Forest Flakes

The votes are in....after some slight discussion at the Guild meeting last night it was decided to skip a month.
FQG - the December block, Dancing Tulips will be turned in at our January meeting. There will be NO BOM swap at the Christmas party in December.
Everyone else - I have decided that I am a little OCD. It bothers me to skip a month. It shouldn't...but it is a "block of the month" not a "block of the when I feel like it." No judgement, just sayin', my issues. So look for a new pattern toward the end of December. You can call it my gift to you.

(same block, different color placement)
And the winner is....

Vicky Shortino
Congratulations to Vicky for winning 10 completed blocks, 16 kits, left over yardage, setting suggestions, and a coupon for free quilting from Tops to Treasures.
Monday, November 14, 2011
Month 7?

Hello Quilty Friends,
I have a problem. My son... that is him in the picture, his name is John... turns 16 on December 20. (That's not the problem.) That is also the night of our Christmas party and the date I would release the next block in our series. (Problem.)

This is the quilt that I have in mind. Doesn't it look cold?! Imagine black and white corners with blues and purples in the center....oh yeah....and now imagine silver or blue metallic thread quilting cozy layers together with snow flakes or mittens. Go light the fire and put on some hot chocolate.
The pattern is the same as Month 5 - November 2011, only the center block is changed to a nine patch. I've named it Forest Flakes because I can't decide if it is a cold dark forest or a blizard of giant snow flakes.
Here's my question....wanna make it?....wanna chance to win all of the blocks, and free quilting? Can we provide our own black and white fabric for the corners this time? (Then I won't have to be at the meeting for this to work....not that I won't, but a boy only turns 16 once and I'd like the option to be with him.)
Month 6 - Dec 11/Jan 12 - Dancing Tulips

Dear Frisco Quilt Guild friends - It has been great fun creating this program for you. You have stunned me with your enthusiasm and ability to follow directions. I know that shouldn't shock me...but there always seems to be one in a group of 80 that will ignore a plan. Whoever it is in our group (Anita maybe?) hasn't digressed very far, and where you have it has been a wonderful addition to the group of blocks.
General description of block: This is nine patch block reminds me of tulips reaching in from the corners to touch their petals. When seen as a collection of blocks invokes all of the joy and festivity of a holiday spent with friends and family. It uses all of the 5 fabrics selected.
Cutting directions: (41 pieces)
FQG - dark and light refer to your kit fabrics
Cutting directions: (41 pieces)
FQG - dark and light refer to your kit fabrics
- From dark (red in kit) - cut 1, 5 1/4 inch square. Sub-cut this square diagonally into 4 small triangles.
- From light (green in kit) - cut 1, 5 1/4 inch square. Sub-cut this square diagonally into 4 small triangles.
Since December is such a busy month and we are all buffetted with decisions every time we turn around, and I really like the way the blocks looks in this colorway, lets all do our blocks this way. Go to your stash and find fabric that reads as teal, white, and dark green.
- From background (teal)-
- cut 1, 4 ½ inch square for center
- cut 4, 4 ½ inch squares for middle edge blocks.
- From 1st contrasting fabric (dark green) -
- cut 4, 2 ½ inch squares for corner blocks
- cut 8, 2 ½ inch squares for middle edge blocks.
- From 2nd contrasting fabric (white) -
- cut 8, 2 ½ inch squares for corner blocks.
- cut 8, 2 ½ inch squares for middle edge blocks.
Piecing directions:
 Corners -
 - Sew one dark and one light small triangle together to make large triangle.
- Being careful not to warp the triangles, iron seams open.
- Make 4.
- Be careful to sew each set in the same order. The finished large triangles should be identical.
- Sew 3, 2 ½ inch squares into “L” shapes with white (2nd contrasting fabric) on the legs and dark green (1st contrasting fabric) in the corner.
- Iron seams toward white (2nd contrasting fabric).
- Trim “L” shapes 1/4 inch to the outside of the three point intersection. You will be cutting white fabric only. The remaining shape is trianglish with three right corners.
- Align light and dark large triangle center seam along the inner and outer corners of “L” shape, right sides and hypotenuses together.
- Sew along the hypotenuse. Iron seams toward light and dark triangle side of square.
- Trim square to 4 ½ inches.
- Make 4
 Middle Edge block -
 - Draw a diagonal line on wrong side of all 2 ½ inch squares. (There should be 16)
- Align dark green (1st contrasting) 2 ½ square with a corner of a 4 ½ inch square of teal (background fabric) with right sides together and the drawn line parallel to the corner.
- Sew on diagonal line.
- Fold dark green (1st contrasting fabric) back so piece is 4 ½ inches square. There should be three pieces of fabric meeting in one corner.
- Iron.
- Continue this process in each corner making sure that two contiguous corners are dark green (1st contrasting fabric) and two are white (2nd contrasting fabric).
- Leaving a 1/4 inch seam allowance, trim excess fabric from back of block.
- Make 4
Block -
- row 1& 3 - corner square with light & dark side on the outside edge; middle edge block with dark green (1st contrasting fabric) next to dark green (1st contrasting fabric) and white (2nd contrasting fabric) next to white (2nd contrasting fabric); corner square with light & dark side on the outside edge.
- row 2 - middle edge block with white (2nd contrasting fabric) to the outside; teal (background) square; middle edge block with white (2nd contrasting fabric) to the outside.
- Assemble rows so that same fabrics are touching to make one 12 ½ inch block (actual size, including future seam allowances.)
Subscribe to:
Posts (Atom)